How to Pack a Hiking Backpack
September 9, 2020
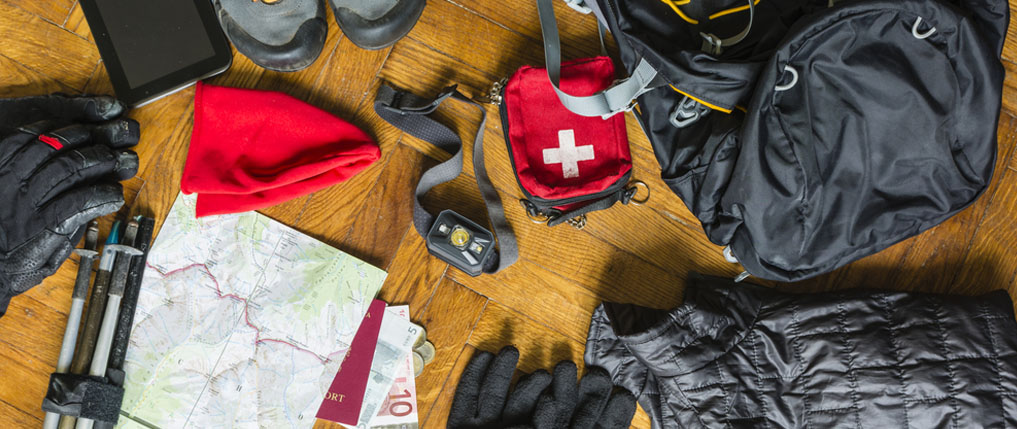
Your hiking trip has arrived and gear is strewn across the floor. Now it’s time to load your heavy-duty backpack! What’s laid out might look like a lot, but with careful Tetris-like planning, you can make every square inch of space count. While loading methods might vary slightly with each backpack, there are fundamental rules that every hiker should follow. A literal balancing act, here is how to pack a hiking backpack efficiently and methodically.
Pack By Zones
A balanced backpack should rest on your hips, without shifting as you walk. The best way to strike this balance is first to load your backpack by these three main zones:
Bottom Zone –Think bulkier and squishy gear you need only once at the site. Core Zone –This area is for heavier items, such as the tent, food (in a bear canister, especially), water and climbing gear. Top Zone –Essential items you need while hiking before you arrive at the site.
Aside from the three main zones, a hiking backpack should have ample side pockets and lash-on loops for other accessories and gear. But these three zones are important to create a balanced backpack that finds your center of gravity. Let’s go into further detail on what gear is best for each:
Bottom Zone
As mentioned, this area is for the bulkier camp gear. This is an excellent spot for a fluffy sleeping bag tucked inside a compression sack. Many hiking backpacks even have a separate bottom compartment sized just for this. Another piece of gear is your sleeping pad. However, this only works for rollable and inflatable pads, not the foldable and more rigid closed-cell foam variety. Other than that, use this hard-to-reach zone for clothing you need once you’re at the site, like long thermal underwear or booties.
Core Zone
The core or middle zone is for heavier and denser gear in which you don’t need immediate access. When heavier gear is placed too low, the bag can sag and when too high, it can make you feel as if you might fall backward. So, it might take some tweaking to find your personal center of gravity, but as a good rule of thumb, this middle region should be reserved for campsite-specific gear.
Essentially, this area comes down to food preparation. Keep food packets and meal kits (and other scented items) in a bear canister if territory calls for it. If there’s any spare room, pack it with other bulky items. Besides that, add all the cooking supplies, such as the water filtration system, cook kit, stove and an upright, tightly capped fuel canister kept away from food. Secure these bulkier gear items and fill in the gaps with some soft clothing or gear, such as the tent body, rainfly or footprint.
Top Zone
This section should be for bulkier gear or items that need to be readily accessible. Otherwise, you may find yourself desperately diving into your bag in the middle of a trail. For example, items might be your middle fleece jacket to keep warm or an outer layer jacket for sudden rainstorms. A first aid kit should always be in reach, too, as well as any toilet supplies (trowel, toilet paper and bag). As an alternative to the core zone, tents work in this area, especially if you need to quickly pop it up to create shelter.
Side Pockets
With your zones packed to the gills, stand up and see how it feels and tweak the load. Use compression straps to tighten the load and make minor adjustments as necessary. Once you find that balance, it’s time to fill all the nooks and crannies.
Every backpack model has different pockets. From lid pockets to front pockets to hip belts, take note of all the areas and plan accordingly. Here are some suggestions on what to fill in these extra pocket spaces:
- Maps, compass and GPS units
- Cell phones
- Sunglasses and sunscreen
- Headlamp
- Bug spray
- Snacks
- Water bottle
- Raincover
- Personal items: keys, ID and wallet
Lash-Ons and Loops

Lastly, load all the lash-on points and tool loops. These handy exterior straps, as well as daisy chains and compression straps, are intended for incredibly awkward and large gear. While there are countless ways to use these straps, keep in mind that this gear can catch on branches or become damaged without much protection.
- Camp stool
- Sleeping pad
- Tent poles
- Trekking poles
- Rope
- Axe or saw
- Crampons
- Canteen
- Drinking cup
Once you arrive home, it’s essential to clean out your pack. Learn how to wash a backpack and address stains and dirt that can wear materials or malfunction zippers. Take care of your hiking backpack and it can last a lifetime.

SIGN UP FOR EXCLUSIVE OFFERS
Sign up for our newsletter and get exclusive access to new product launches, special offers and much more.
RELATED BLOGS